

Do this and a bloated 80MB deck can drop to a fraction of that size without visible quality loss. Always keep an unedited master file first, since PowerPoint's compression is permanent once you save.
TL;DR:
- Pre-compress images outside PowerPoint using tools like Photoshop or ImageMagick to improve size and visual fidelity, especially for charts and logos.
- Use JPEG or WebP at 75 to 85% quality for photos, and PNG or SVG for graphics with text or sharp edges, to prevent artifacts after compression.
- Adjust PowerPoint default image settings in Options to prevent automatic compression or to set a custom resolution target for future images.
- Remove cropped areas, hidden objects, and embedded videos that can significantly inflate file size before compression.
- Source high-resolution, properly formatted logos from verified databases and process them in bulk to maintain consistency and save time.
Table of Contents
- How to Compress Pictures Inside PowerPoint (Step-by-Step)
- Which Image Format Should You Use: JPEG, PNG, or WebP?
- Why Pre-Compressing Images Before You Insert Them Works Better
- Where to Change PowerPoint's Default Image Settings
- Hidden File Bloat: Cropped Data, Fonts, and Embedded Video
- What Finance Teams Get Wrong About Image Optimization
- What the Conventional Advice Gets Wrong
- Skip the Manual Cleanup With Verified Logos and Bulk Processing
- Sources
- FAQ
How to Compress Pictures Inside PowerPoint (Step-by-Step)
If you already have a finished deck and it's too heavy to email, PowerPoint's native compressor is the fastest fix. It won't give you as much control as pre-compressing images beforehand, but it takes under a minute and works directly inside the file you already have.
Here's the sequence:
- Duplicate your file first. Compression is destructive, and once you save, the original pixel data is gone.
- Click any picture on a slide, then go to Picture Format in the ribbon.
- Select Compress Pictures.
- Choose whether to apply the change to "This picture only" or every image in the file. For a full deck cleanup, uncheck "Apply only to this picture."
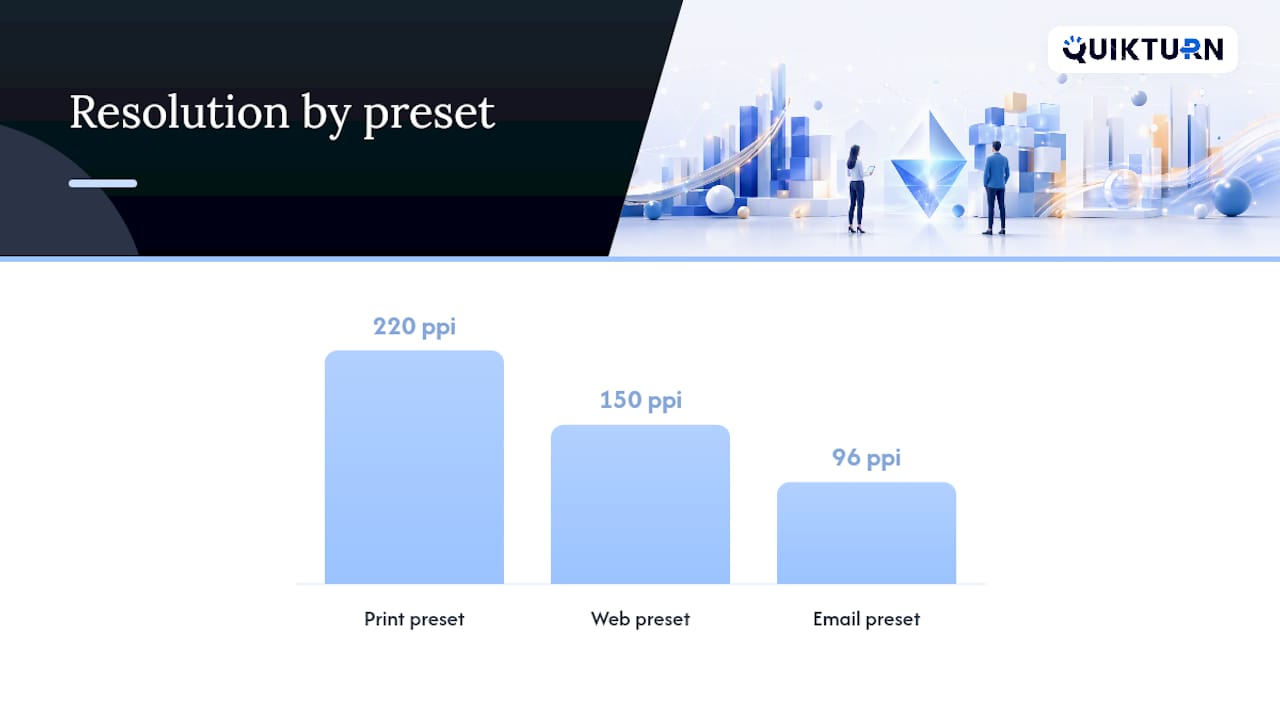
- Pick a resolution preset: Print (220 ppi), Web (150 ppi), or Email (96 ppi).
- Check the box for Delete cropped areas of pictures. This alone can shave megabytes off a deck full of trimmed photos.
- Click OK, then review each slide before saving over your working copy.
Microsoft's own guidance confirms that PowerPoint defaults to roughly 220 ppi and that these compression settings live under Picture Format on the ribbon.
Pro Tip: Compress a copy first and open it side by side with the original. If a chart's axis labels turn fuzzy or a logo edge goes soft, back off to the Print preset instead of Web or Email.
Which Image Format Should You Use: JPEG, PNG, or WebP?
Not every image belongs in the same format, and using the wrong one is the single biggest reason decks look worse after "optimization" than before it.
- Photographs and background images: JPEG or lossy WebP at 75 to 85% quality. Photos tolerate compression artifacts well because the human eye doesn't notice small pixel shifts in gradients and textures.
- Screenshots, charts, and text-heavy graphics: PNG or lossless WebP. JPEG's compression introduces "ringing" artifacts around sharp edges, which is exactly what turns crisp axis labels and small text into a blurry mess.
- Logos and icons: SVG whenever your template supports it. Vector graphics scale to any size with zero quality loss and typically weigh less than a PNG of the same logo, since PowerPoint's SVG support renders shapes mathematically instead of storing pixels.
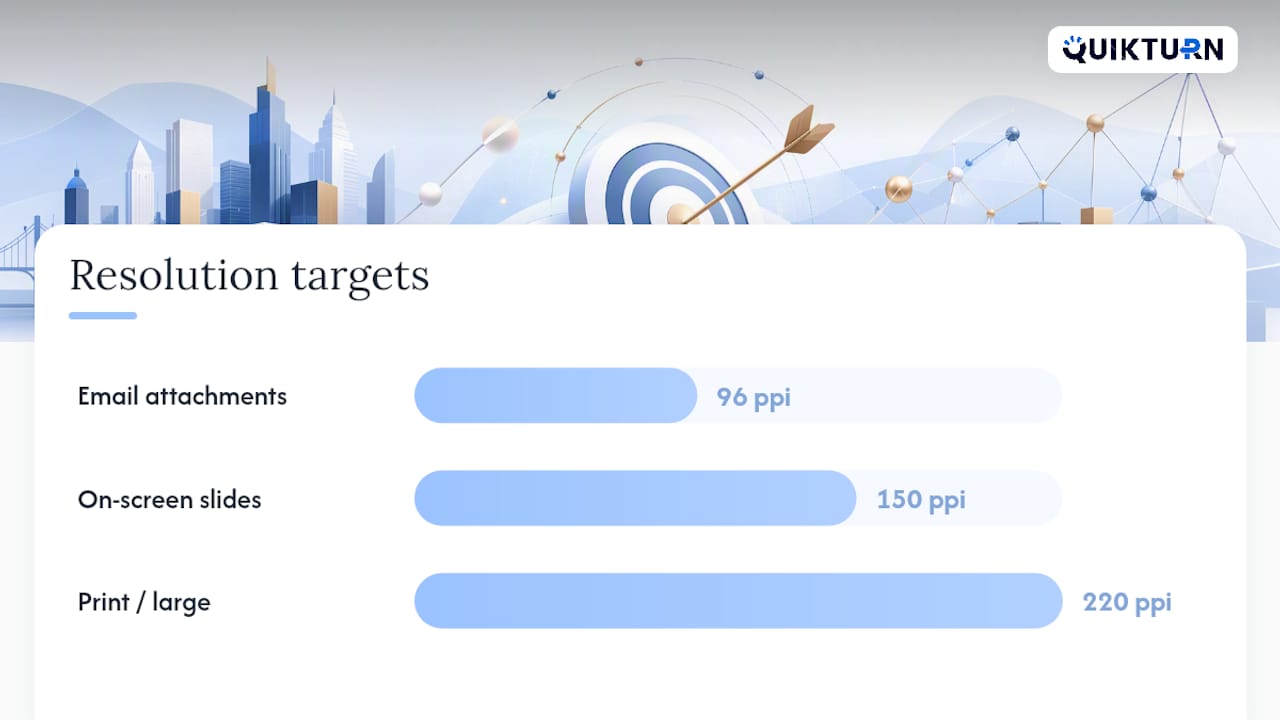
For resolution targets, industry guidance generally lands on 96 ppi for email attachments, 150 ppi for on-screen presentations, and 220 ppi for print or large-format displays. Those numbers aren't hard rules, but they're a solid starting point for deciding how aggressively to compress.
If you're building graphics from scratch rather than sourcing them, following a structured image creation workflow at the design stage saves you from having to fix format problems later.
Why Pre-Compressing Images Before You Insert Them Works Better
PowerPoint's built-in compressor applies one PPI setting to every image in the file and often re-encodes everything as JPEG, regardless of whether that image was a photo or a screenshot. That's fine for a stock photo. It's rough on a chart or a company logo.
Pre-compressing gives you control the built-in tool doesn't. Here's the workflow:
- Figure out your actual display size. A standard 16:9 slide renders at 1920×1080 pixels at full resolution, so an image filling the slide rarely needs to exceed that.
- Resize each image to those dimensions (or close to it) in an editor before you touch PowerPoint.
- Set quality individually: JPEG or WebP at 75 to 85% for photos, PNG for anything with text or sharp lines.
- Save the resized files, then insert them into your deck.
- Confirm clarity on the actual slide before moving to the next image.
Batch tools like Photoshop's export presets, ImageMagick, or even PowerPoint's own SVG import handle this at scale. Built-in compression still earns its place as a final safety net for a deck you didn't build, but for anything you're creating yourself, pre-processing wins on both size and visual fidelity.
Pro Tip: If you're pasting screenshots straight from your clipboard, resize the source window first. A screenshot taken at 4K resolution and shrunk to fit a slide is far heavier than one captured at the size you actually need.
Where to Change PowerPoint's Default Image Settings
Buried in PowerPoint's options menu is a setting that controls how every image in the file behaves before you ever touch Compress Pictures.
Go to File → Options → Advanced, then scroll to Image Size and Quality. You'll find three controls worth knowing:
- Default resolution: dropdown to set what PPI new images target when compressed. Microsoft 365 ships with this around 220 ppi by default.
- Do not compress images in file: checking this disables automatic compression entirely, useful if you're pre-compressing images yourself and don't want PowerPoint touching them again.
- Discard editing data: removes the "undo" data for crops and adjustments, which shrinks the file further but makes those edits permanent once saved.
For teams sharing templates, agree on one setting and document it. A shared default keeps everyone's decks consistent instead of some analysts working from 220 ppi files and others from uncompressed originals.
Hidden File Bloat: Cropped Data, Fonts, and Embedded Video
Cropping an image in PowerPoint hides the trimmed pixels, but doesn't delete them. That means a photo cropped down to a small headshot can still carry its full original file weight until you explicitly remove the cropped areas through Compress Pictures.
Beyond crops, a few other culprits routinely bloat decks:
- Off-slide objects and hidden layers that never display but still get saved. Run Document Inspector (File → Info → Check for Issues) to find them.
- Embedded video files, which are frequently the single largest object in a presentation, often larger than every image combined.
- Duplicate copies of the same logo pasted at full resolution on multiple slides instead of reused from one source.
Since a .pptx file is technically a ZIP archive, you can rename a copy to .zip and open it to see exactly which media files are eating your file size. This often reveals that one oversized video or a handful of phone photos are responsible for most of the bloat, not the dozens of smaller images you assumed were the problem.
Pro Tip: Duplicate your master file, inspect it for hidden content, fix the two or three biggest offenders you find, then run Compress Pictures last as a cleanup pass, not your first move.
What Finance Teams Get Wrong About Image Optimization
Deals move fast, and decks get rebuilt under deadline pressure with logos pulled from wherever they can be found: old decks, Google Images, screenshots of a company's website. That's how a pitch book ends up with a mix of low-res PNGs, JPEG artifacts on a portfolio company's wordmark, and a file size that chokes the email server.
The habits that hold up under deadline pressure:
- Keep a master copy of every deck before compressing, always.
- Batch pre-process image assets rather than fixing them slide by slide the night before a pitch.
- Prefer vector logos over rasterized ones whenever the source is available.
- Document your team's default resolution and compression settings so every analyst's output looks consistent.
- Preview the final deck on the actual display, projector, laptop screen, or a client's 4K monitor, before sending it out.
Teams that build market maps and comps decks constantly benefit from sourcing pre-verified, high-resolution logos rather than re-scraping the same handful of company marks from search results every quarter.
What the Conventional Advice Gets Wrong
Most guides treat image optimization as a single lever: compress everything, pick one resolution, done. That advice works fine for a personal photo album. It falls apart for finance decks, where a single blurry portfolio company logo or a pixelated chart axis undermines credibility in a room where credibility is the entire point.
The real priority order is different from what most tutorials suggest. Format and source quality matter more than compression settings. A logo pulled from a low-resolution favicon will look bad no matter what PPI you choose in Compress Pictures. Fix the input before you touch the compression tool. Second, PowerPoint's built-in compressor is a blunt instrument that treats a chart the same way it treats a beach photo, so leaning on it as your only strategy guarantees mediocre results on your most important visual assets.
What actually moves the needle is upstream discipline: sourcing clean, appropriately sized images before they ever touch a slide, and reserving PowerPoint's compression for genuine cleanup work on decks you inherited rather than built.
— Quikturn Team
Skip the Manual Cleanup With Verified Logos and Bulk Processing
Every technique in this guide assumes you're starting with a decent source image. The bigger problem for finance teams is upstream: finding a clean, high-resolution logo for every company in a comp set, in the right format, without spending an afternoon hunting through search results and screenshotting websites.
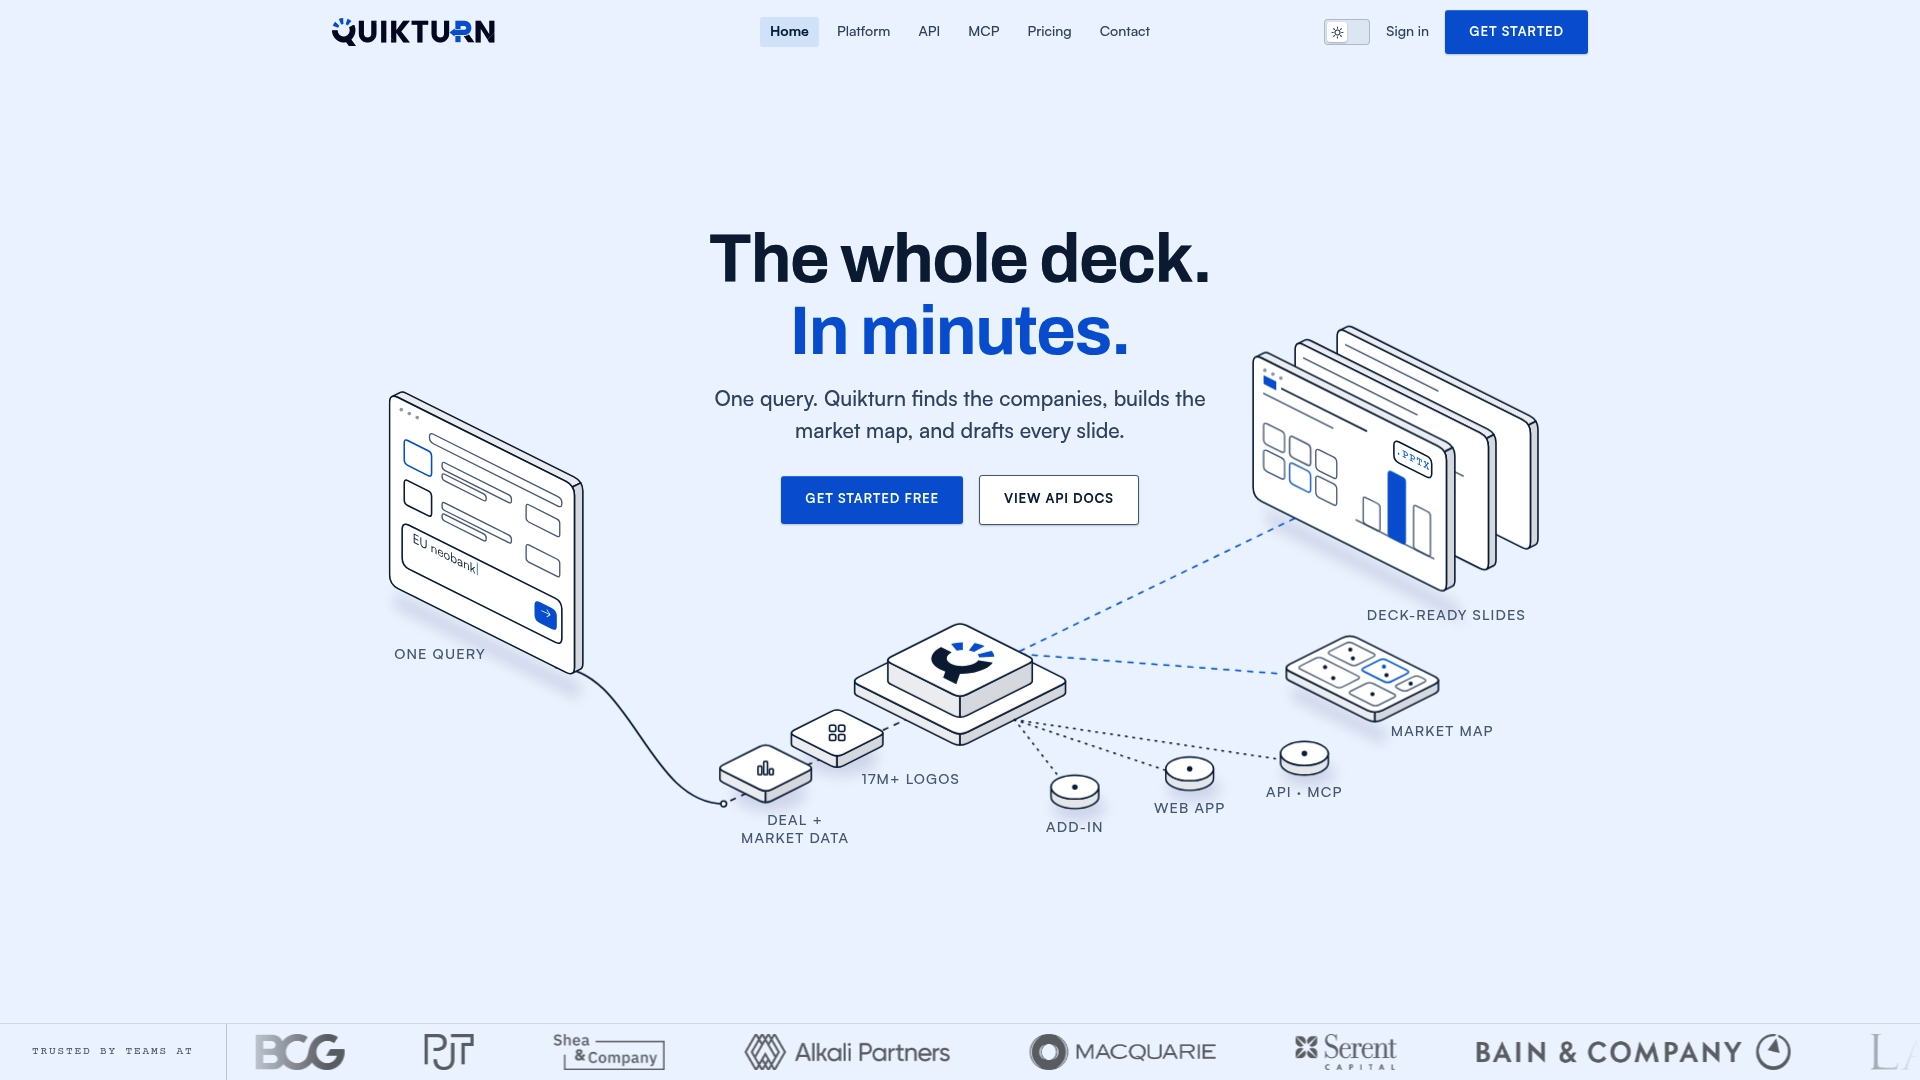
You can use a platform that pulls from a verified database of millions of company logos, so instead of manually resizing and re-compressing a mismatched pile of PNGs and JPEGs before every pitch, you search, insert, and move on. The PowerPoint add-in drops correctly sized, properly formatted logos directly onto your slide, and the bulk logo processing tools handle an entire comp set or market map at once instead of one image at a time. For teams building the same types of decks repeatedly, that consistency matters more than any single compression setting. Start with a free account and see how much manual image work disappears from your next deck.
Sources
The steps and settings in this guide come directly from Microsoft's own documentation on reducing PowerPoint file size, which covers the Compress Pictures dialog, default resolution settings, and the Advanced options menu. For format and quality targets, Pixotter's compression guide and Clemson's IT knowledge base both offer practical benchmarks worth bookmarking if you build decks regularly.
- Reduce the file size of your PowerPoint presentations | Microsoft Support
- How to: Compress images in PowerPoint
- How to Compress Images for PowerPoint | Pixotter
FAQ
How Do You Optimize Images in PowerPoint?
Always keep an unedited master file, since compression can't be undone after you save.
Why Is PowerPoint Reducing My Image Quality?
PowerPoint automatically compresses images on save using a default resolution around 220 ppi, which can soften photos and blur fine chart details. You can disable this under File → Options → Advanced → Image Size and Quality by checking "Do not compress images in file."
How Do You Get a 300 DPI Image Into PowerPoint?
Insert the image at its original resolution, then immediately check "Do not compress images in file" in PowerPoint's Advanced options, since the default compression settings will downsample it otherwise. For print materials specifically, this setting matters more than any other in the entire program.
Is PNG or JPEG Better for PowerPoint?
Neither is universally better. Use JPEG for photographs, where its compression is efficient and largely invisible, and PNG for screenshots, charts, and text-heavy graphics, where JPEG artifacts blur sharp edges and small type. For logos, SVG beats both when your slide template supports vector formats.
Should I Keep a Master Copy Before Compressing?
Yes, always. PowerPoint's compression is permanent once you save the file, so duplicating your original before running Compress Pictures is the only way to recover full-quality images if a client later requests a print version or a higher-resolution export.